Understanding a Circle through Paper Folding


In Class \(4\), I was working towards helping the learner acquire understanding about shapes around her/him. In particular, I wanted my students to identify the centre, radius and diameter of a circle.
In order to check their pre-requisite understanding and then proceed towards my goal, I made the
following plan for the students:
- Observe and identify round and circular shapes from the surroundings.
- Collect objects that make a circular trace
- Make circles using coins, bangles, etc.
- Make a circle using paper folding.
- Understand increasing and decreasing circles using threads of different lengths.
- Learn and use vocabulary associated with the circle.
- Draw a circle using a compass.
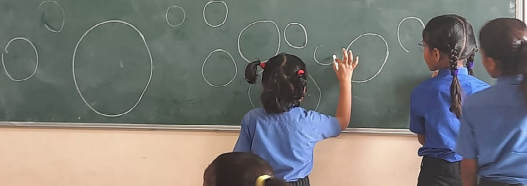
The children could easily identify round and circular shapes and used bottle caps, bowls, bangles, protractors, etc., to trace out circles. I then asked them what they would do if they wanted to make smaller or bigger circles without using such objects. After some thought, they tried freehand sketches (see photo), but they were able to see that these were not as perfect.
Making a Circle Using Paper Folding
When I talked about making a circle with paper in the classroom, all the children were curious about how this circle would be made.
Paper folding and cutting using scissors, also known as kirigami, is a fascinating practice that merges creativity with geometry. While most people associate paper craft with creating shapes such as cranes or flowers, the process of creating perfect geometric shapes, such as a circle, can also be initiated through this simple yet profound craft. Folding a circle from a flat piece of paper isn’t as intuitive as making a square or triangle, but it is certainly achievable with the right techniques.
This article explores how paper folding can be used to create a circle, blending artistry and mathematics in a way that is both enjoyable and educational.
The Challenge of Creating a Circle with Paper Folding
At first glance, creating a perfect circle out of paper folding may seem impossible. A circle, after all, is defined as a set of points that are equidistant from a central point. In paper, where each fold tends to create straight lines or sharp angles, achieving a true curve can seem like a contradiction.
However, it is possible to approximate a circle very closely using the principles of kirigami. The process typically involves a series of folds that help refine the shape of the paper until it resembles a circular form.
Basic Techniques for Creating a Circle Through Folding
There are multiple methods to create a circle through folding, but all involve precise folding and symmetry. Here is a general step-by-step approach to creating a circle. Begin with a square piece of paper. While it is possible to start with rectangular paper, a square provides symmetry and makes the folding process easier to follow.
Step 1. Fold Diagonally
To start, fold the paper first along one diagonal (from one corner to the opposite corner) and then along the other. When we did this and then opened the paper, we found a cross in the centre of the page.

Step 2. Fold in Half Horizontally and Vertically
After this, fold the paper in half both horizontally and vertically. When we opened the paper, we saw that two more lines had formed in the middle which were passing through the cross that we had observed earlier.
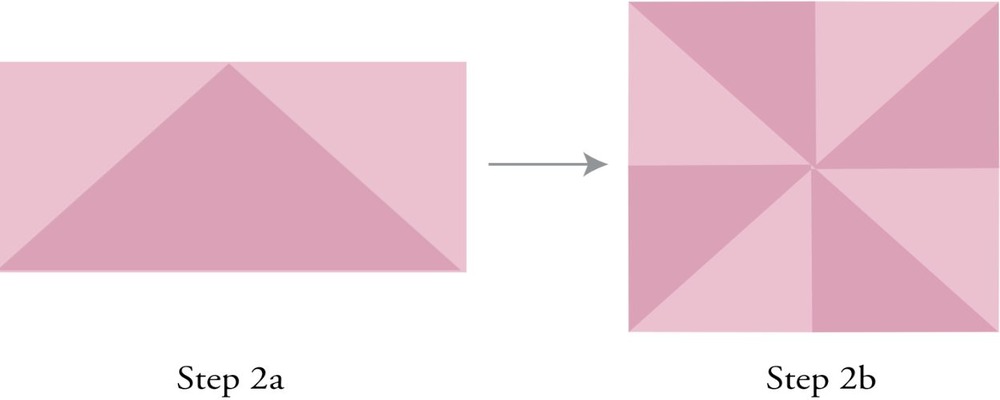
Step 3. Fold the Corners to the Centre
After this, fold the paper into a rectangle and then into a square. Bring the two opposite corners of the square together to form a triangle. Join the two matching sides of the triangle together to make a smaller triangle and cut the page with extra protruding from the top. Open the page out, you will see a polygon.

Step 4. Refine the Shape
After seeing the polygon, fold the paper again and eliminate the sharp points, gradually creating a smoother, more circular appearance. While these folds won’t create a perfect mathematical circle, they help approximate one.

Why Paper Folding Can Approximate a Circle
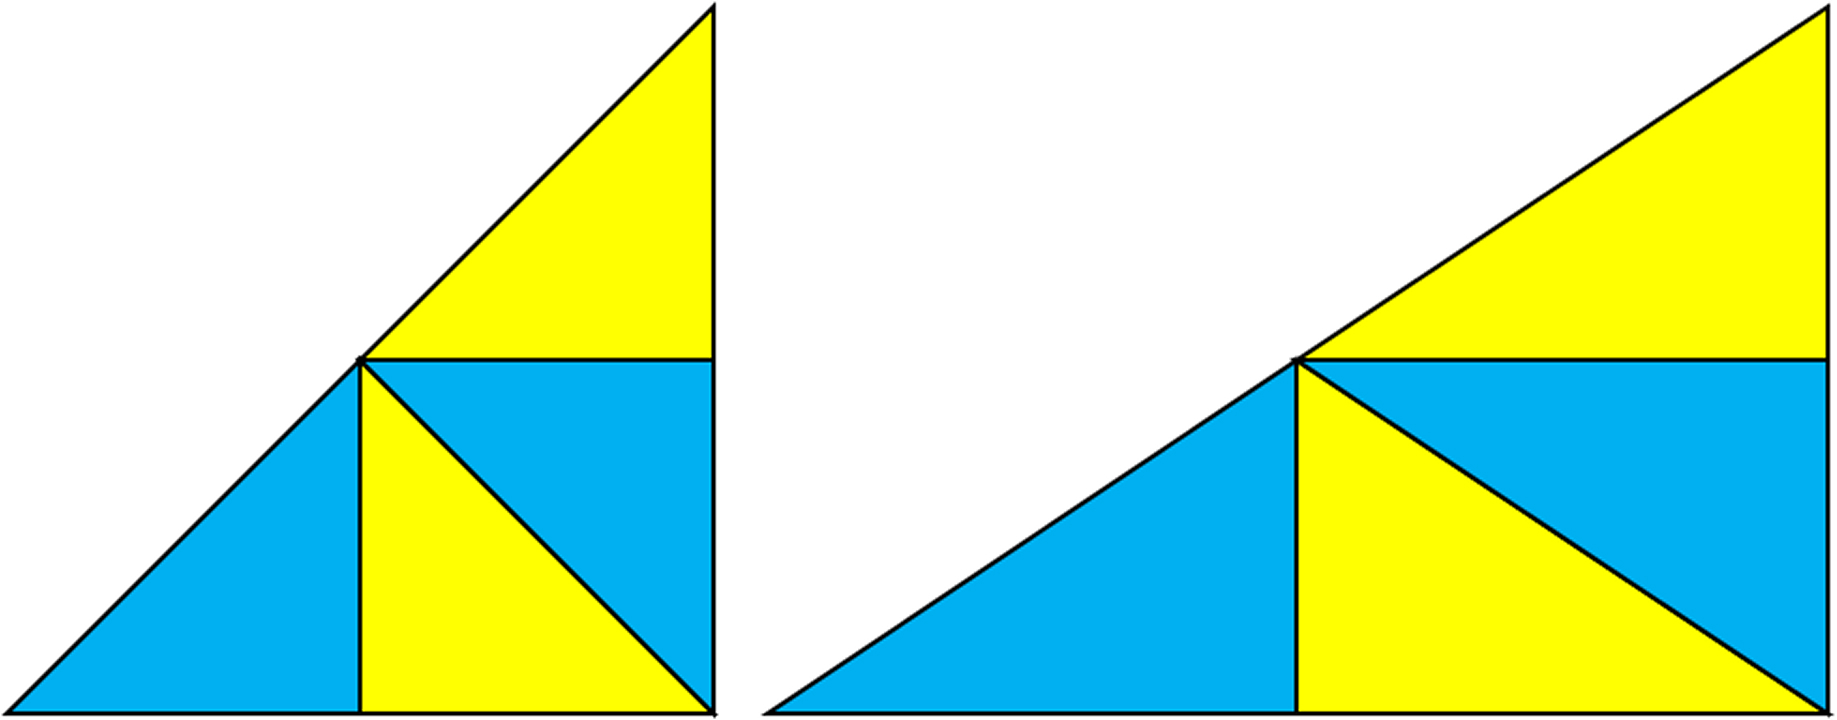
The reason that a paper fold can approximate a circle lies in the properties of geometric approximation. As you fold the edges toward the centre, you are progressively reducing the number of straight edges and forming a shape closer to the ideal circle. With each fold, the paper moves toward a more “curved” geometry, even though the result remains an approximation. After we did this, the children coloured in each radius section.
What was important to note was that at this point, the children said that in each coloured part, there is a straight line coming from the centre to the edges, whose length is the same from all sides, then we discussed the term ‘radius’ and I explained that this was any line from the centre to the edge of the circle. All such lines were of the same length- something that the children could easily see with the folding they had done. And the children also noticed that there is a fold from one edge to the other passing through the centre of the circle, which is double of the radius, and I explained that this is called the diameter of the circle.
After the fold lines were used to discuss centre, radius and diameter of a circle, I asked the children to
go out of the classroom and think of ways to draw circles using what they had just learnt.

In both cases, what made me happy was they recognised the significance of the centre and of the radius. In fact, by changing the length of the rope, they were able to make bigger and smaller circles. After this, there was a discussion about how to make a circle in their notebooks, then one of the children said that he had seen some children making circles with a compass. Using the experience with the rope, the following method was thought out.
Using a Compass
- Fix a pencil in the compass slot and place the compass point where you want to mark the centre of the circle.
- Adjust the compass to the desired radius
- Keeping the point fixed, rotate the compass to draw the circle.
Arriving at definitions
- Centre: The central point of the circle.
- Radius: The distance from the centre to any point on the circle.
- Diameter: The distance across the circle, passing through its centre. (Twice the radius)
- Circumference: The distance around the circle.
- Arc: A part of the circle’s circumference.
- Chord: A line segment connecting two points on the circle.
- Tangent: A line that touches the circle at exactly one point.
Activities and Questions to Learn About Circles
- Draw a Circle: Use a compass or a round object to draw a circle.
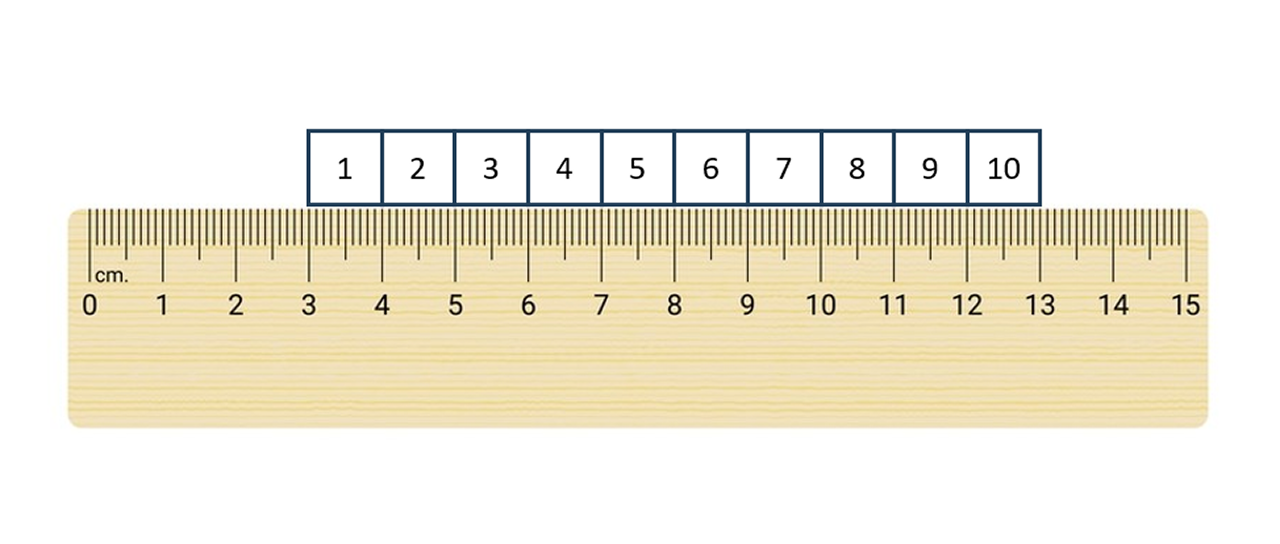
- Measure the Radius and Diameter: Use a ruler to measure the radius and diameter of a circle. This was done in the classroom.
- Walk Around a Circle: Walk around a circular object, like a frisbee or a plate, to understand the circumference.
- Discuss the characteristics of a circle. These were the conclusions:
- A circle has no corners or edges.
- All points on the circle are equidistant from its centre
- You can draw a circle by connecting all points that are the same distance from a centre point.
Circles are all around us! Understanding circles can help you in math, science, and even in our daily life. Remember, a circle is a round shape with a centre, radius, diameter, and circumference.
Applications and Insights
Creating a circle through paper folding is more than just a craft; it also offers valuable insights into geometry and symmetry. By folding paper in this way, you can gain a deeper understanding of how shapes relate to one another and how straight lines can be manipulated to approximate curves. This technique also demonstrates how paper can be used to explore mathematical attributes such as precision, approximation, and transformation.
By engaging in this hands-on process, you not only develop a greater appreciation for the beauty of geometric shapes but also experience first-hand how the laws of geometry can manifest in the real world.
In pedagogy, these kinds of paper folding activities can be used to teach students about circles, symmetry, and approximation. Through visual and tactile learning, students can see the relationship between flat, straight shapes and curved, circular forms.
Conclusion
While paper folding cannot create a perfect mathematical circle, it provides a fascinating way to approximate this elegant shape using simple tools and methods. The process of folding paper teaches us about the interplay between straight lines and curves and offers a tactile understanding of mathematical principles. Whether for artistic expression, educational purposes, or personal curiosity, the act of creating a circle through paper folding offers a unique and rewarding exploration of geometry.
- Learning outcome – Identify the centre, radius and diameter of a circle from Sims and NCF 2005.
- https://youtu.be/cSst1EW7LtY?si=X37BdCikTrRj6EwO